

When taking and uploading photos, do your best to match with the corresponding photo icon and description. Providing quality photos and adhering to each photo icon in the photo set will reduce the need for additional photos later and will help build trust with your customers.
To help you become more familiar with our photo icons, we’ve provided a few examples below with ideal photos taken by actual TaskEasy contractors.
Front From Road

When taking photos of the front of the yard from the road, use landscape for the widest view of the yard’s condition.
Front Along Sidewalk

For front facing photos along the sidewalk, walk to the end of the property and point your camera in the direction of the sidewalk, facing the house.
Lawn Mower – Action

Lawn Backyard

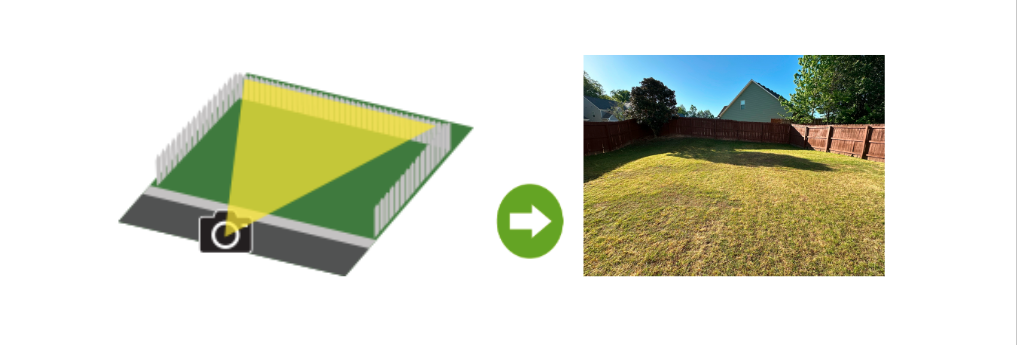
For backyard photos, use landscape view when taking photos. Make sure to include photos to show all traced areas including the side and back fence lines.
Left/Right Side

When taking photos on the left and right sides, we recommend using a portrait view.
To avoid being rejected for poor quality photos, here are a few do’s and don’ts of taking photos for your customers with the TaskEasy Contractor app.

DON’T take or upload photos when there are objects blocking your view. DO take clear, wide-angled photos showing as much of the yard as possible.

DON’T take photos that are blurry. DO keep your phone as still as possible and allow your camera to focus before taking the picture.

DON’T tilt your camera when taking photos. DO keep your camera level and avoid

DON’T take photos that are too close up. DO give yourself enough distance to get the full picture, try to show as much of the yard as possible in your photos. (This may require more than one photo per area)
Examples of clear, wide-angled photos:


